A data-driven leaderboard will track multiple keywords or #hashtags, so you can give your viewers, fans, or audience an interactive experience.
Creating your Leaderboard
Start by titling your Smart Panel, then select a tagboard from the dropdown in the Data Settings.

Once you select a tagboard, you will be able to pick your Hashtag Source. This is the master hashtag that Tagboard will listen for people to use in their Tweets.

Adding Options
Now that you have a Hashtag Source selected, you can add additional Options. Your options can be #hashtags or keywords. Think of the Options as how your viewers and fans can vote for an individual item.
For example, if your master Hashtag Source is #AcademyAwards, your Options may be the titles of all Best Picture nominees. In this scenario, Tagboard is listening for users to Tweet #AcademyAwards with the name of the movie.

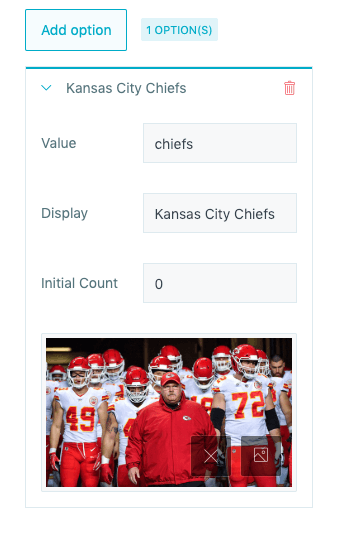
Value: The keyword or #hashtag you want to track, used in conjunction with the Hashtag Source
Display: The actual title that will be displayed on the Leaderboard graphic
Initial Count: Number of votes/posts you want the value to start at. (This will default to 0, if you don't want to artificially boost the post count)
Choose icon: You can select a photo or GIF powered by GIPHY from your Media Library, to visually customize each option
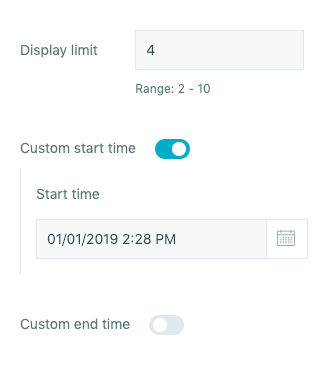
Display Limit: Choose how many of the top options you want to display on your Leaderboard. You can choose between 2 and 10 options. (The max is 10 to avoid the graphic becoming too busy, but you can always be tracking additional options.)
Custom Start/End time: Toggle on to select any date/time for data collection to begin and end. If no custom start time is selected, data collection will begin when the Smart Panel is created. If no custom end time is selected, data collection will continue until the Smart Panel is deleted.
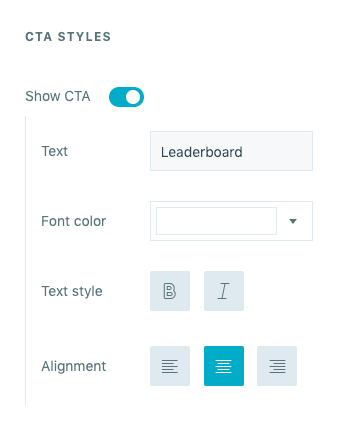
CTA Styles
By default, the Call-To-Action will be toggled on. You can add your own text, and customize the font, color, style, and alignment. If you do not want to display a CTA, toggle the option off.
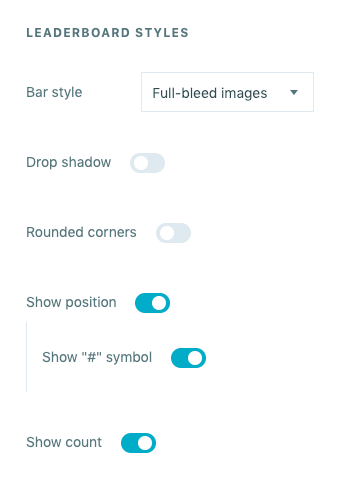
Leaderboard Styles
Bar Style: This will customize the look of the option bars on the Smart Panel. choose between Rectangle, Circular Pills, Full-bleed images, Full-height icons, Numbered Icons, Close-knit, and Stripes.
Next toggle on/off the sliders to further customize the look of your Leaderboard:
Snippets (optional)
If you need a visualization that is more custom than the options allow for in the Smart Panel Builder, the Tagboard team is happy to help! Reach out to your dedicated Client Success Manager to get started.
If you've already worked with our team to build custom visualizations, the Snippets tab on the left sidebar of the builder is where you can apply those customizations to your Smart Panel.

Click on 'add snippets' to view the dropdown menu that has been customized just for you. You'll see a list of every custom design the Tagboard team has already built out for you. Select the custom look you want to apply to your Leaderboard Smart Panel.
When you add a Snippet, you are applying custom code to that visualization. Snippets can be used to customize every type of Smart Panel, as well as Themes and Graphics. If you are adding a Snippet to a Leaderboard Smart Panel, be sure to add a Snippet that was built for that specific type of Panel in order for the CSS to apply properly. One important thing to note: you also have the ability to remove a Snippet, which will remove custom code from that visualization.
Tags
Add tags to your Smart Panel to make it easier for you to search in your Smart Panels tab.
Click 'Save' in the upper right corner, and you're ready to embed your Leaderboard in you digital experience or go live in Tagboard Producer!
Need more assistance? Contact your Account Manager directly or email Support@tagboard.com.